
For smooth functioning of your Netgear WiFi range extender, it is important to update its firmware to the latest version right after completing the Netgear WiFi extender setup process.
If you are looking for step-by-step instructions to update the firmware of your Netgear WiFi range extender, then you have stumbled upon the right post. We assure you that, by the end of this article you will surely update the firmware of your Netgear WiFi range extender like a pro. Let’s get started!
Update Extender Firmware in 6 Easy Steps
Step 1
Turn on Your Netgear Extender
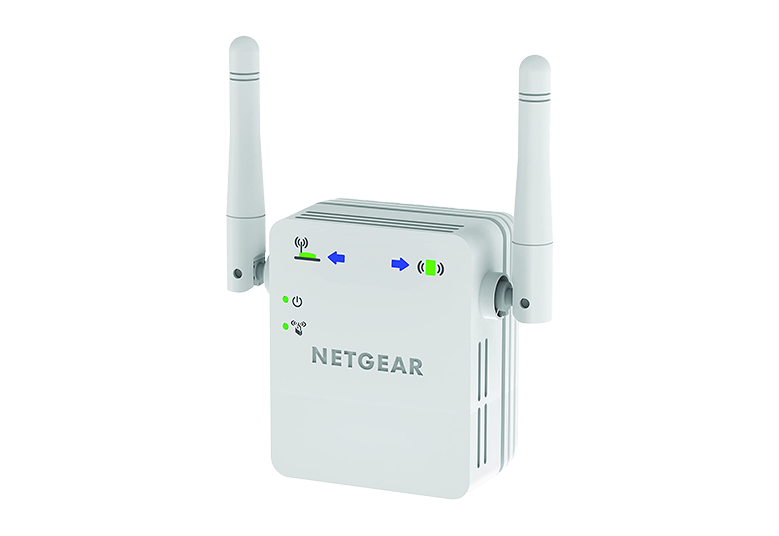
The first step is to turn on your Netgear WiFi range extender. Ensure to plug it into a working wall socket.
After plugging the extender in, wait for its power LED to become stable green. The power LED may take longer time than usual to become stable. Please be patient!
Step 2
Make a Connection
The next step to update Netgear extender’s firmware is to make a connection between your existing router and the extender. For this, you can take an Ethernet cable and connect it into the correct ports of the devices. Make sure that the Ethernet connection isn’t loose.
Step 3
Turn on a Device
After connecting your Netgear extender and router, the next step that you have to perform to update Netgear extender firmware is to turn on a computer or laptop. No matter which device you are about to use, if its software version is outdated, then you will surely going to face issues while updating Netgear extender’s firmware.
Step 4
Open a Web browser
Now, what you have to do is to open an internet browser and reach the Netgear Genie setup wizard using 192.168.1.250 IP.
Do not use an outdated web browser version or do not work with a web browser that is loaded with browsing history. If you do so and if you ignore this point, then nothing will stop you from getting 192.168.1.250 not working issue.
What’s more? Do not use the browser’s search bar. The extender’s default IP address i.e. 192.168.1.250 should only be entered in the browser’s URL bar.
Secondly, do not commit typing errors. To prevent this, we have an idea! Copy 192.168.1.250 IP from here and paste it very carefully in the browser’s URL bar.
If you still get 192.168.1.250 not working issue, then what you can do:
- Restart the device you are using to access the IP address
- Get access to the extender’s WiFi
- Reopen the web browser. Please open only one tab. For the time being, close and unpin all the tabs that are opened or pinned on the web browser.
- and, again apply the copy-paste technique
- Once you are done, press the Enter key.
Step 5
Log in to Your Netgear Extender
The log in page of your Netgear WiFi range extender will be displayed. Reaching here, you have to enter the default username and password (unless changed) of your Netgear extender into the required fields. Once you are done, click on Log In.
Step 6
You are Done!
The Netgear extender’s status page displays. Now, locate and click the following options provided on the displayed page:
- Firmware update
- Browse
- Upload
Once you click on the upload button, the Netgear extender firmware update will start on the same page. Once the process gets completed, your Netgear WiFi range extender will start automatically. But, while the Netgear extender firmware update process is going on, please it is recommended:
- Do not turn off the extender
- Avoid shutting down the device you are using to download the extender’s firmware
- Don’t try to access the extender’s mywifiext setup page by going online
The process will take a couple of minutes. Please remain calm!
Anticipating that by following the 6-step guide, are you able to update the Netgear extender firmware in a hassle-free way?

1 thought on “6-Step Guide to Update Netgear Extender Firmware”
Comments are closed.