
Internet protocol is a set of rules that an internet device uses to send and receive signals. There are two types of IP addresses- static and dynamic.
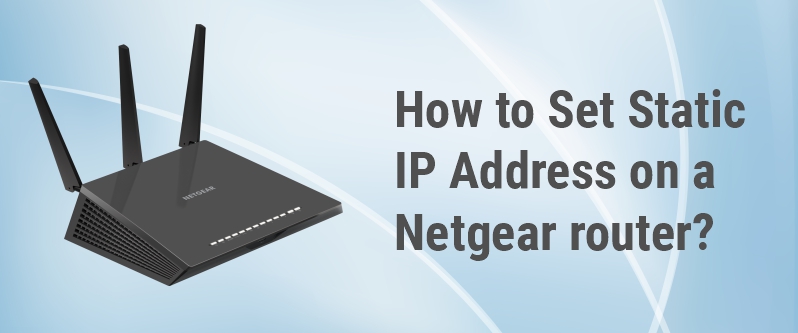
A static IP address is manually configured by the users as its remains the same. Configuring a static IP address on a wireless device like a router is not a hard task but sometimes users find it difficult to do so. If you are one of them, facing an issue while assigning a static IP address on your Netgear router, then here we will provide you with a complete solution to set a static IP on your Netgear Nighthawk router.
ISP(Internet Service Provider) assigns a dynamic IP address to every device connected with the internet networks. But, sometimes users want to have their device for a static IP address to establish a connection to the Internet networks.
There are many reasons for which a user needs a static IP address:
If you require to share data between two different devices in the mutual network.
Want to use your computer as a Media Server.
Useful when you want to run a remote access application on your device.
Want to operate devices such as printers, scanners, etc. by connecting to your system.
Useful in hosting a website from your home
Sometimes, the Netgear router also needs a static IP for working efficiently.
These are some reasons for which users require to configure a static IP address on their Netgear routers. Here, we are giving you the information about configuring a static IP address on your Netgear router.
In the initial stage, make sure that your all devices are connected.
Open an internet browser on your preferred device.
Important Note: Make sure that you are using the latest version of the Internet browser.
Go to the address bar and type routerlogin URL.
- Press the Enter button and the Netgear Nighthawk router login page will appear.
You are required to enter the default username and password and then, click the Log in button.
Important note: For default username and password, refer to the manual which comes along with the product at the time of purchase.
Once logged in, the Netgear admin panel will appear, then you are required to browse the cursor to the Settings menu.
In the Settings Menu, look for the Internet option and click it.
An Internet setup page will appear on the screen.
Now, select a radio button located in the front of the option “Does your Internet connection require a login?”
After enabling the radio button, move further to the ISP menu for selecting the encapsulation method.
Afterward, you are required to type the username provided by your Internet Service Provider.
Enter the password too and then you are required to click the Enter button.
In some cases, ISP also ask you for a service name. Then, you need to enter the service name too.
Now, you need to go to the Connection mode menu and select the option according to your need from the listed options- Manually Connect, Always-On, or Dial on Demand.
After performing the step, select the radio button located in front of the Internet Address and click the Apply button.
Finally, you have successfully set a static IP address on your Netgear Nighthawk device.
Important Note: If you assign a static IP address to two different network devices, then they will stop operating.
Hopefully, this above-mentioned information help you configure a static IP address to your Netgear Nighthawk router. You can also perform this function using the Netgear Nighthawk app. Leave a comment if you like the post.

1 thought on “Configuring a Static IP on Your Netgear Router”
Comments are closed.